

So, you're ready to get your hands dirty with Adobe Experience Manager? This isn't just about learning concepts; it's about building real, dynamic websites. This guide will walk you through everything, from getting AEM set up for the first time to deploying your finished project.
A solid start is everything, and that means understanding AEM's core architecture right out of the gate. If you're coming from a platform like Sitecore, which is deeply rooted in the .NET ecosystem, AEM’s Java-based world will feel quite different.
AEM is built on a powerful stack: Java, OSGi, and the Java Content Repository (JCR). This setup gives it incredible flexibility. We'll break down the practical roles of its two key instances, which is a fundamental concept to grasp.
- Author Instance: Think of this as your digital workshop. It’s where your content creators, marketers, and developers will spend their time building pages, creating content, and managing all your digital assets.
- Publish Instance: This is the live, customer-facing environment. It takes all the amazing work done on the Author instance and serves it up to your audience, fully optimized for speed and security.
Getting your head around this Author/Publish separation is crucial, especially if you’re used to a more monolithic structure like SharePoint where development and live sites can be intertwined. This model ensures your live website remains stable and performs well, completely unaffected by whatever content creation chaos is happening behind the scenes.
Core Prerequisites for Success
Before you dive in, you need to get your machine set up correctly. This is non-negotiable. You’ll need a specific Java Development Kit (JDK) and Apache Maven, the build automation tool that powers AEM projects. Getting these prerequisites right from the start will save you from some of the most common setup headaches down the line.
The image below gives you a glimpse of the AEM as a Cloud Service homepage. This is your central hub for managing environments, repositories, and even finding learning resources.
This interface really shows how integrated AEM's cloud environment is, giving you a single entry point to manage your entire digital experience infrastructure. Of course, tools are only as good as the teams using them. A Forrester Total Economic Impact™ study found that structured training on Adobe Experience Cloud boosted user adoption by up to 30% in the first year.
That increase translated into serious financial gains, with operating profits climbing to $1.54 million by year three simply from employees being more effective. You can also see our detailed breakdown of which teams and roles benefit most from AEM.
Setting Up a Bulletproof Local AEM Environment
A solid project always starts with a stable local development environment. If you’re coming from platforms like Sitecore, where a Windows server and IIS are the norm, AEM’s Java-centric world requires a bit of a mental shift. The entire local AEM ecosystem revolves around one thing: the AEM Quickstart JAR file.
Getting your first local AEM instance up and running is surprisingly simple. You can often just double-click the JAR file, but for a real development setup, you’ll want to use the command line. This gives you control, letting you pass critical flags that tell the instance how to behave. For instance, a quick command is all it takes to launch the instance in author mode on a specific port.
The infographic below gives you a bird's-eye view of the AEM journey, from that initial setup all the way to public delivery.
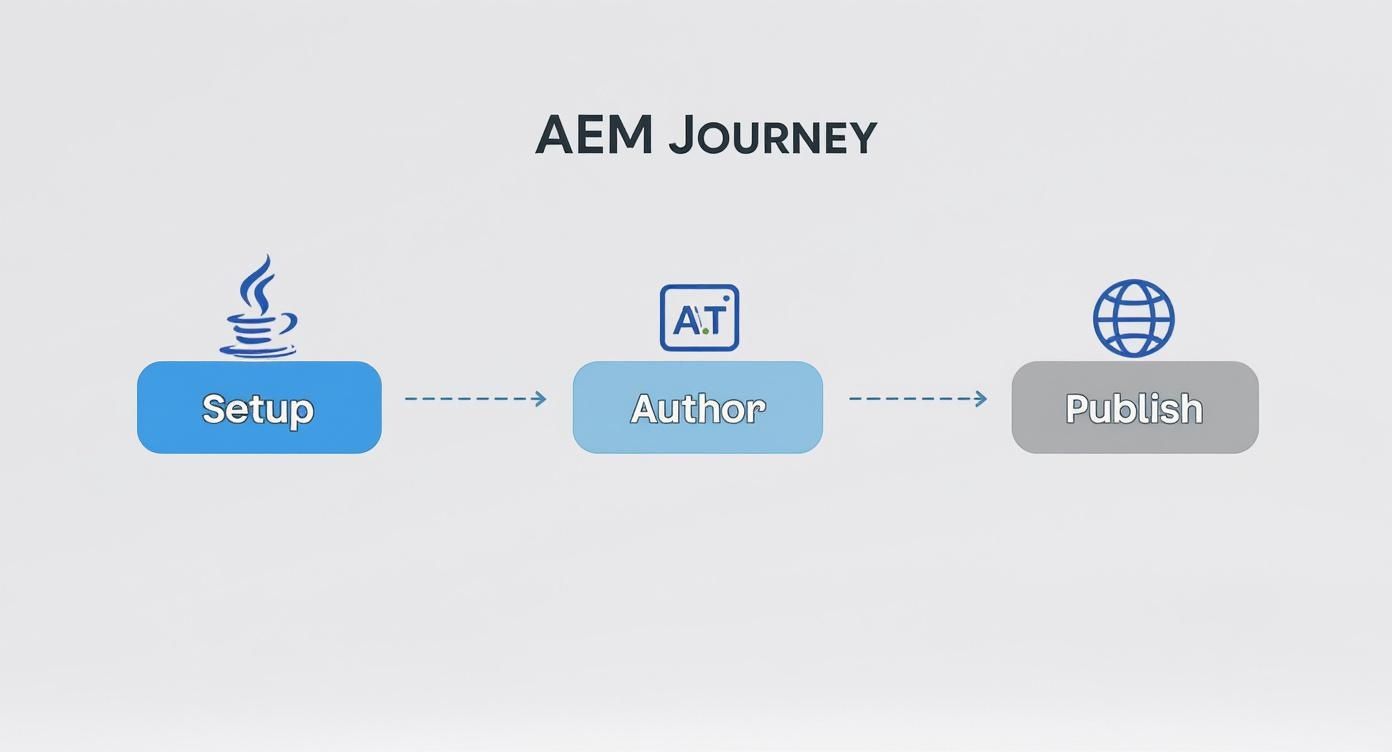
This flow highlights a core AEM concept: the separation between the Java-based backend, the internal authoring process, and the final delivery of content to the publish instance. It’s a foundational idea that keeps the workflow clean and secure.
Launching Your First Author and Publish Instances
A typical local setup needs to mimic a real-world production environment, which means running two instances at the same time: an author and a publish instance. This is where command-line flags become absolutely essential to keep them from clashing.
You can spin up an author instance on the default port (4502) and a publish instance on a different one, like 4503. This setup lets you create content in one environment and immediately see how it looks to the public in another, all from your own machine. It's a perfect local simulation of the content replication process that’s so vital in enterprise systems.
For anyone setting up a local AEM environment, it’s crucial to know the different run modes and their default ports. This table is a handy quick reference for getting your instances launched correctly.
AEM Instance Run Modes and Default Ports
Using these flags from the command line prevents port conflicts and ensures your local author and publish environments run side-by-side, just like they would in a production scenario.
Once your instance is running, the first place you'll want to go is CRXDE Lite. Think of it as your direct window into the AEM repository. This web-based tool lets you poke around nodes, check properties, and understand the underlying content structure. It's an indispensable tool for debugging and development.
Bootstrapping Your Project with the AEM Project Archetype
Imagine having to manually create the entire folder structure for a new AEM project. It would be a nightmare of tedious, error-prone work. Luckily, we don’t have to. The standard practice is to use the AEM Project Archetype.
This is a powerful Maven template that generates a complete, best-practices project structure with a single command. It’s a massive time-saver.
The archetype sets up a multi-module Maven project, neatly organizing everything into dedicated modules:
- core: This is home for all your Java code, including Sling Models and OSGi services.
- ui.apps: Here you'll find your templates, components, client-side libraries (CSS/JS), and OSGi configurations.
- ui.content: This holds the actual content and page structures, all packaged up for deployment.
- ui.tests: Includes configurations for running various automated tests against your code.
This organized structure isn't just for show; it's critical for keeping your project maintainable and scalable as it grows. For teams working together on these modules, a clear process for managing code is non-negotiable. You can learn more about this in our detailed overview of Git branching strategies for enterprise CMS projects.
Using the archetype ensures your project is set up for success from day one. It establishes that clean separation between code, content, and configuration that aligns with AEM's core principles, making the entire development lifecycle much, much smoother. By following this process, you’ll have a fully functional local author and publish environment, ready for you to start building your first components.
Building Your First AEM Templates and Components
With your local environment humming, it's time to get your hands dirty and start building. This is the fun part, where your digital strategy starts taking shape inside AEM. The two most fundamental building blocks you'll work with are Templates and Components. Getting a solid grip on how these two interact is non-negotiable for any successful AEM project.
If you're coming from the Sitecore world, you might equate AEM Templates with Sitecore’s Data Templates, but the closest parallel for page structure is a combination of Layouts and Renderings. However, AEM's Editable Templates introduce a level of author flexibility that goes beyond traditional Sitecore setups. Editable Templates hand significant power to content authors, letting them tweak page structures, define allowed components, and even set design rules—all from the AEM interface. It's a game-changer for marketing agility.
This setup creates a framework that's flexible but still has guardrails, giving authors creative freedom without sacrificing brand consistency. It’s a massive improvement over the rigid structures you often find in platforms like SharePoint, where moving a single element on a page can turn into a whole development cycle.
Crafting Your First Editable Template
Alright, let's build something. Your first mission is to create an Editable Template. We’ll pretend we're making a standard template for a blog post page. To get started, you’ll head over to the Templates console in the AEM user interface.
This is where you'll define the template's backbone and its rules. It boils down to a few key actions:
- Define the Structure: You’ll add a Layout Container, which is essentially the main sandbox where authors will later drag and drop their components.
- Set Initial Content: You can prepopulate the template with components that need to be on every single blog post, like a standard header or footer. This locks in consistency from the get-go.
- Establish Policies: Policies are your template's rules of engagement. You can specify exactly which components an author is allowed to use in the Layout Container, stopping them from dropping a product carousel into the middle of a blog post.
This entire process is driven by the UI, which is a cornerstone of the modern AEM workflow. It's also how you can easily build responsive layouts with AEM by configuring the AEM Grid system directly inside your template policies.
Developing a Custom Hero Banner Component
A template isn't much use without components to fill it. Let's create a classic 'Hero Banner' component from scratch. This is a perfect first component because it forces you to touch on all the core development concepts in AEM.
Building a component means creating a few different files that all live inside your project's ui.apps module. For our Hero Banner, the first step is creating its JCR node structure. This is just a way to define its name, the group it belongs to, and the title that content authors will see in the AEM editor.
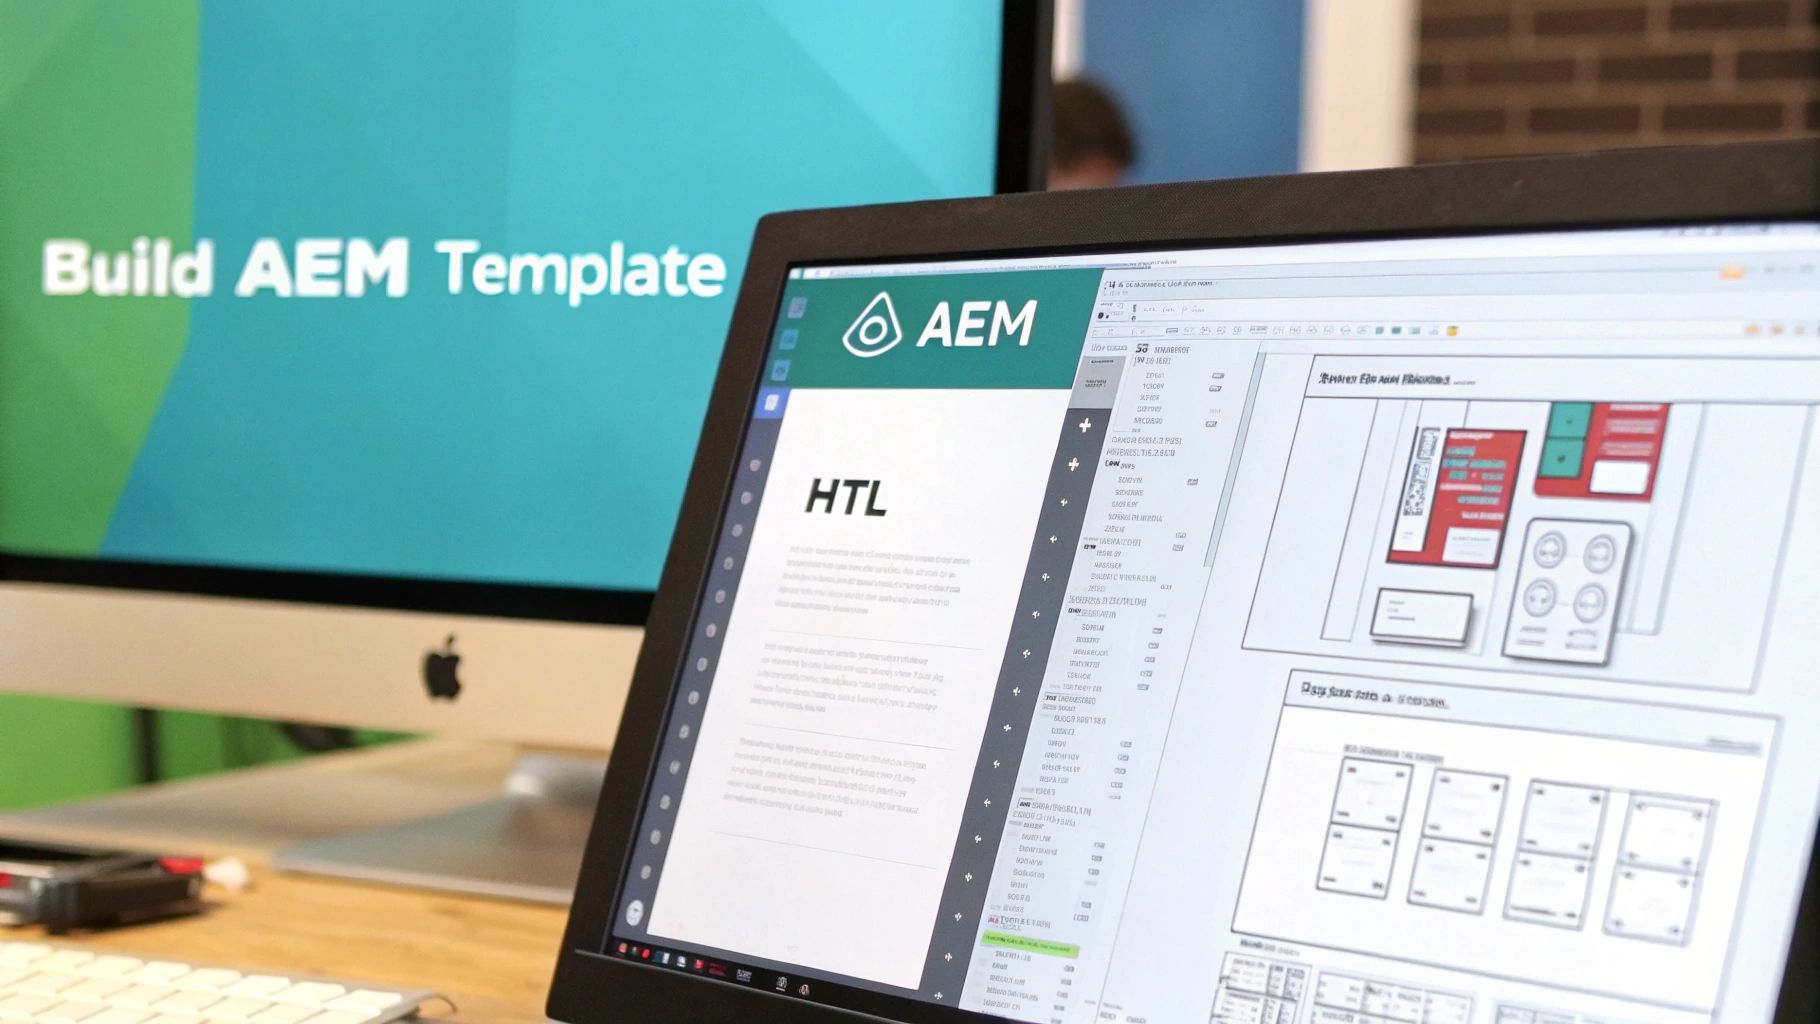
Next up is the rendering script, which we'll write using HTL (HTML Template Language), the successor to Sightly. HTL is AEM’s secure, server-side templating language designed to keep your markup clean and separate from your business logic. Your HTL file will contain the HTML for the hero banner, using special syntax to pull in the content an author adds.
The real magic of AEM development lies in the clean separation of concerns. Your HTL script should only handle presentation. All the business logic—fetching data, processing input—should be encapsulated within a Sling Model. This makes your code readable, reusable, and far easier to test.
Defining the Authoring Dialog and Sling Model
So, how does an author actually add a headline or an image to the Hero Banner? Through its dialog. The dialog is an XML file that defines the form fields authors see when they edit the component. For our banner, we’ll create fields for a headline, a sub-headline, and an image asset.
The final piece of the puzzle is connecting that author-provided content to our HTL. We do that with a Sling Model. This is a simple Java class that uses annotations to map the data saved from the dialog directly to Java fields. Your HTL script can then access the data from the Sling Model with clean, readable code.
This whole workflow—template, component, HTL, dialog, Sling Model—is the bread and butter of modern AEM development. As you start working with a team, you'll quickly find that a solid grasp of version control is crucial. To keep projects moving smoothly when multiple developers are touching the same templates and components, it's worth the time to master Git merge conflict resolution. Once you build this first component, you'll have a practical, end-to-end understanding of how all these pieces fit together to create a powerful authoring experience.
Authoring Content That Drives Engagement
Once you have solid templates and components in place, the focus shifts from building the car to handing over the keys. This is where your marketing and content teams get to drive, bringing your digital strategy to life. The entire authoring experience in Adobe Experience Manager is built to be visual, intuitive, and, frankly, pretty powerful.
If you’ve ever worked with platforms like SharePoint, you’ll know that authoring can sometimes feel disconnected from what the user actually sees. AEM is different. It offers a genuine "what you see is what you get" (WYSIWYG) experience, letting authors build and edit pages with immediate visual feedback. This hands-on approach makes content creation much faster and cuts down on the back-and-forth with developers for small layout tweaks.
Navigating the AEM Sites Console
Your command center for everything page-related is the AEM Sites console. Think of it as your website's file structure, but laid out in a clean, user-friendly interface. From here, you’ll create new pages, manage your existing content, and organize the overall site map.
So, let's put that template you built to work. Creating a new page is simple: just navigate to where you want it in the site hierarchy, hit "Create Page," and pick the blog post template from the list. Instantly, a new page pops up with the structure and components you already defined, keeping everything on-brand from the very first click.
From there, you’ll jump into the AEM Page Editor, which is where the real magic happens. The editor gives you a drag-and-drop canvas. Authors can pull components from a side panel (called the Component Finder) and drop them right onto the page. Each component can then be configured using the dialog you created, allowing for text, images, and whatever else you need.
Mastering Reusable Content with Fragments
Building pages from individual components is great for flexibility, but real efficiency comes from reusing content. AEM gives you two fantastic tools for this: Content Fragments and Experience Fragments. They might sound similar, but they serve distinct purposes. This is an area where Sitecore developers will feel right at home, as the concepts align closely with Sitecore's emphasis on atomic, reusable content.
- Content Fragments: These are chunks of structured content that are completely separate from their presentation. Think of a testimonial with fields for an author, a quote, and a photo. You can use this fragment anywhere—on a landing page, in a sidebar, or even send it headlessly to a mobile app via AEM's GraphQL APIs.
- Experience Fragments: This is a group of one or more components that form a complete piece of an experience. A great example is a promotional banner with a hero image, some text, and a call-to-action button. You can save that entire unit as a single Experience Fragment and drop it onto multiple pages in one go.
Using these tools properly separates your content from its layout. It’s a core principle of modern content management and a big step up from the rigid, page-focused models of older systems like SharePoint.
A key best practice is to build out a robust library of both Content and Experience Fragments. This empowers your marketing teams to spin up new pages and campaigns quickly without needing a developer, which drastically speeds up content updates and launches.
Tying Authoring to Business Value
A well-architected backend with flexible templates and reusable fragments isn't just a technical achievement; it directly translates into real business advantages. The time your marketing team saves is more than a minor convenience—it's a measurable driver of success.
In fact, AEM's ability to accelerate content delivery and simplify authoring has a proven financial upside. An IDC business value study found that organizations using AEM Sites achieved an incredible 597% return on investment (ROI) over three years. The study also revealed these companies could launch new websites 61% faster and saw an 82% increase in SEO traffic, adding up to an average annual benefit of $7.29 million. You can find more details in the business value of AEM Sites report. These numbers make it clear: a great authoring experience has a direct impact on marketing agility and the bottom line.
Deploying Your Project with Confidence
Moving your Adobe Experience Manager project from your local machine to a live server is where the rubber meets the road. A smooth deployment all comes down to a solid grasp of how AEM packages up code and content. This isn't just about copying files; it's a structured process designed to keep your environments stable and consistent.
The whole system is built around AEM Packages. These are essentially ZIP files that bundle your code, configurations, and even bits of content into a single, deployable unit. Think of it as a neat, self-contained snapshot of your project. This is a big departure from platforms like Sitecore, where deployments often involve moving DLLs and using tools like Unicorn or TDS to sync serialized database items.
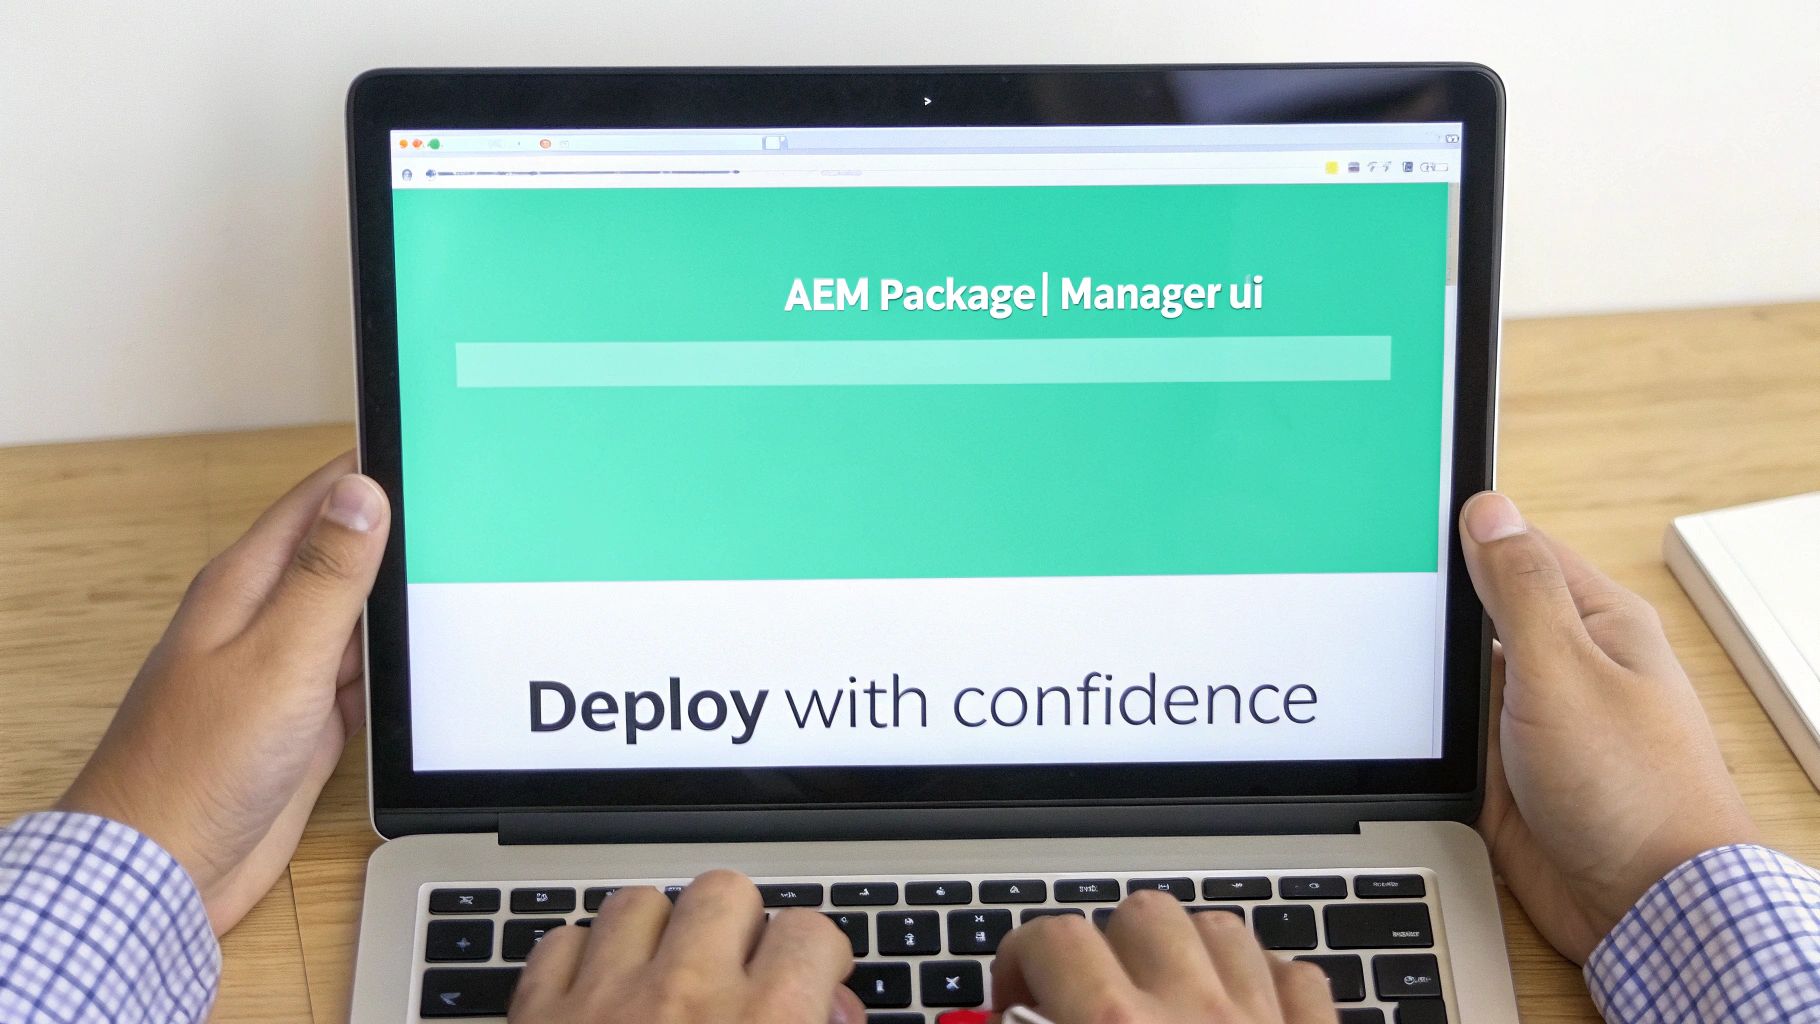
Your main tool for this is the Package Manager, which you can find right in the AEM interface. It’s where you’ll upload, install, and manage all your packages. While you can create these packages by hand, in any professional setting, this process is fully automated.
Automating Your Build with Maven
The good news is that your AEM project, having been set up with the standard archetype, is already wired up to use Maven to generate these packages for you. When you run a command like mvn clean install, Maven kicks into gear—compiling your Java, processing front-end files, and wrapping everything up into clean, deployable packages.
This automated build gives you the most critical artifact: the "all" package. This is a master package that bundles up your other project modules, like ui.apps and ui.content, making sure they get deployed together and in the right sequence. An automated, repeatable build is the backbone of any reliable CI/CD pipeline and helps you sidestep the manual errors that can creep in.
Here’s a piece of advice I can't stress enough: never make direct code or configuration changes on your server environments. Every change should go through a version-controlled code package built by your CI/CD process. This keeps every deployment traceable, tested, and consistent.
Understanding Mutable vs. Immutable Content
A common tripwire for developers new to AEM is figuring out what should and shouldn't be included in a code package. The secret is to distinguish between two types of content living in the repository:
- Immutable Content: This is the stuff that forms the baseline of your application, managed by developers. It includes things like your templates, component definitions, and initial folder structures. This content belongs in your
ui.appspackage and is deployed alongside your code. - Mutable Content: This is all the content your authors create and manage on the live author instance—pages, assets, Experience Fragments, you name it. This should never be part of your code package.
Keeping these two separate is absolutely vital. A code deployment should never, ever overwrite content your authors have spent hours creating. This separation is what lets development and content creation run in parallel without tripping over each other. For anyone coming from a SharePoint world where configuration and content are often tangled together, this clean divide is a game-changer for large-scale operations.
Best Practices for a Stable Implementation
Beyond just packaging, a rock-solid AEM implementation is built on high-quality code and smart architecture. Integrating static code analysis tools into your build process is a great way to catch common bugs and enforce coding standards automatically.
Another non-negotiable best practice is properly using Sling Models to pull your business logic out of the HTL rendering scripts. This separation makes your components far easier to maintain, test, and debug down the line.
Finally, the secret weapon for performance is the AEM Dispatcher. This is a caching and load-balancing module that sits in front of your publish instances. It serves static HTML pages directly from its cache, which takes a massive load off the AEM server and delivers a lightning-fast experience to your users. Getting your Dispatcher caching rules configured correctly is one of the most important things you'll do to get your site ready for production traffic.
This robust deployment model and intense focus on quality are what make AEM a powerhouse in the digital experience space. In fact, for the eighth consecutive year, Adobe was recognized as a Leader in the Gartner® Magic Quadrant™ for Digital Experience Platforms. This recognition reflects the platform's maturity and its ability to handle complex enterprise needs, backed by powerful features like its back-end GraphQL APIs. You can dive into the full analysis in Gartner's 2025 DXP report.
Common AEM Questions for Beginners
As you start getting your hands dirty with AEM, you’ll naturally run into a few common questions. Getting these concepts straight from the beginning is just like a Sitecore developer learning the difference between a rendering and a sublayout—it builds a solid foundation and saves you headaches later on.
Let's clear up some of the most frequent hurdles beginners face.
Classic UI vs. Touch UI
If you dig through older AEM projects or documentation, you’re bound to see mentions of the "Classic UI." What’s that all about?
The Classic UI was the original interface in older AEM versions, built on a technology called ExtJS. It’s what everyone used for years. The Touch UI, on the other hand, is the modern, responsive interface built with Adobe's Coral UI framework. It’s designed to work great on both desktops and touch devices.
Bottom line: All new development should be done exclusively in the Touch UI. The Classic UI is a thing of the past and isn't even available in AEM as a Cloud Service.
What are Sling Models?
Another core concept you'll hear about constantly is Sling Models. Think of them as the bridge between your content and your code.
Sling Models are annotation-driven Java objects that cleanly access JCR content and hold the business logic for your components. This is the standard and recommended practice for modern AEM development, as it promotes code that is more readable, maintainable, and easier to test.
They keep your presentation layer (like HTL scripts) clean by separating it from the complex business logic that runs behind the scenes. It's a fundamental best practice you'll want to adopt from day one.
What Does the AEM Dispatcher Do?
The Dispatcher is a non-negotiable part of any real-world AEM setup. It’s a powerful caching and load-balancing tool that sits right in front of your AEM Publish instances. For Sitecore veterans, its role is similar to how a reverse proxy or CDN would handle full-page HTML caching for a Content Delivery server.
Its main job is to cache pages as static HTML files. This drastically cuts down the load on the Publish server and serves content to users incredibly fast. It also doubles as a security gateway, filtering requests before they ever hit AEM. A well-configured Dispatcher is absolutely essential for a stable, high-performance AEM environment.
Can AEM Be a Headless CMS?
Yes, absolutely. AEM is a powerful hybrid CMS, meaning it’s just as good at headless content delivery as it is at traditional web management. This is directly comparable to Sitecore's headless capabilities through JSS or its Experience Edge APIs.
You can use Content Fragments to create structured, presentation-agnostic content. From there, you can deliver that content through AEM's robust GraphQL APIs to literally any front-end application you can think of—a React single-page app, a native mobile app, you name it. This flexibility is a huge reason why AEM is a top choice for modern, omnichannel content strategies. For a deeper look, our guide explains more about what Adobe AEM is and its full capabilities.
At Kogifi, we specialize in implementing and optimizing powerful platforms like Adobe Experience Manager to solve complex business challenges. If you're looking to build a scalable and high-performing digital experience, our team of experts is ready to help. https://www.kogifi.com